Physical Address
304 North Cardinal St.
Dorchester Center, MA 02124
Physical Address
304 North Cardinal St.
Dorchester Center, MA 02124
source: anthropic.com
Claude Code is a command-line tool from Anthropic that brings Claude’s AI capabilities directly into your terminal, enabling autonomous coding assistance through natural language commands. Unlike traditional IDE plugins or web-based AI assistants, Claude Code operates as a standalone CLI application that can read, write, and modify files in your codebase while maintaining full context of your project structure.
At its core, Claude Code follows a simple workflow:
bash

# You describe what you want in plain English

claude "refactor this authentication module to use JWT tokens"

# Claude analyzes your codebase, makes changes, and explains what it did
Plenty of coding agents are already out there, and most of them offer the same core functions: navigating codebases, generating and refining code, executing commands, handling git workflows, and juggling multiple development threads at once.
So, what sets Claude Code apart?
Claude Code lives in your terminal, making it accessible via SSH, scriptable in CI/CD pipelines, and usable across any development environment without GUI dependencies. Other cli based coding agents have entered into the market now like cursor cli and likely others will follow soon.
Rather than just suggesting code, Claude Code actively performs tasks such as:
Claude Code embodies “do one thing well” – it’s a focused tool that integrates seamlessly with pipes, scripts, and other command-line utilities. This seamless integration in the command line makes it very powerful to write scripts and automate tasks.
bash

# Combine with other tools
git diff | claude "explain these changes"

# Find TODOs and address them
grep -r "TODO" . | claude "implement these todos"
No copy-paste workflow needed. Claude Code lives in your repository, reads your actual files, understands their relationships, and makes changes in place:
bash

# Claude sees your entire module structure

claude "add error handling to all API endpoints in src/api/"

# Files are modified directly, ready for git diff review
This direct manipulation approach means you stay in your terminal, maintain your flow state, and can immediately test or commit changes without context switching between applications.
Built with professional development in mind:
.gitignore and project boundariesExplain what you would like to do in a prompt, and Claude Code will create a detailed plan and will write the code. Claude Code can also interpret error messages or describe what’s going wrong and will diagnose the issue in your codebase, pinpoint the cause, and apply the right fix. As with any AI tool, a clear and structured prompting yields good results.
bash

# Generate boilerplate code and project structures from scratch:
claude "create a Node.js REST API with JWT auth and user CRUD operations"

# Scaffold test suites
claude "generate unit tests for all services in src/services/"

# Systematic changes across multiple files:
claude "refactor all database queries to use async/await pattern"

# Fix failing tests
claude "fix the failing Jest tests in user.test.js"

# Debug error traces
cat error.log | claude "diagnose and fix this production error"

# Generate comprehensive docs
claude "document all public APIs with JSDoc comments"
claude "generate README with setup instructions based on package.json"
Whether you’re diving into a massive legacy system or a fresh project, Claude Code tries its best to provide clear answers about structure, logic, and dependencies. It stays aware of the full project, pulls in updates from the web, and can even connect to tools like Google Drive, Figma, and Slack for additional context using MCP servers.
Claude Code works best with tasks that are:
The key is finding the balance between tasks that are too simple (faster to do manually) and too complex (require human judgment and iteration).
Assistants like Claude Code and others have similar working principles under the hood. Please checkout this article https://anjith.tech/2025/09/12/how-coding-assistants-work/ to learn more.
Linux/macOS/WSL
Claude Code needs npm to install. First install Node.js 18+ https://nodejs.org/en/download. After this run the following command to install claude code globally.
npm install -g @anthropic-ai/claude-codeAnother way to install natively is by running the following command
curl -fsSL https://claude.ai/install.sh | bashWindows:
Claude Code is built as a command-line tool designed for Unix-like operating systems so windows needs a special treatment and is a bit more involved. First we need to install wsl(Windows Subsystem for Linux) as a precursor. Open PowerShell as Administrator and execute:
wsl --installAfter this reboot the system for the installation to take an effect, launch the installed Linux distribution from the start menu and create a new user account and password when prompted. Now follow the steps in Linux/macOS to proceed with claude code installation.
Alternative way to install natively using power shell is by running the below command
irm https://claude.ai/install.ps1 | iexThere are several subscription options to get access to claude code. Refer https://www.claude.com/pricing for more details. It is also possible to use API key based approach using Anthropic console account(https://console.anthropic.com/). If you choose this option, an environment variable ANTHROPIC_API_KEY="your-api-key-here" should be added to your environment depending on the operating system manually or just initiate login command and choose Anthropic console account and authorise the login. Please be aware of the costs when using API key as the costs may spiral out if not careful. My recommendation is to use pro or max account depending on the usage level. You can start the login as below:
claude

# You'll be prompted to log in on first use
# Or

/login
# Follow the prompts to log in with your account
Once logged in, your credentials are stored and you may not need to login again.
IDE Integration
Claude Code is primarily a CLI based tool but if you want to see the changes done visually then you can install relevant extension/plugin for your IDE.
VSCode: https://marketplace.visualstudio.com/items?itemName=anthropic.claude-code
JetBrains IDEs: https://plugins.jetbrains.com/plugin/27310-claude-code-beta-
Let’s explore Claude Code with a hands-on example. Follow these steps:
1. Clone the repository:
git clone https://github.com/anjithp/ai-code-assistant-demo2. Navigate to the quick-start directory and follow the build instructions in the README.
3. Launch the application.
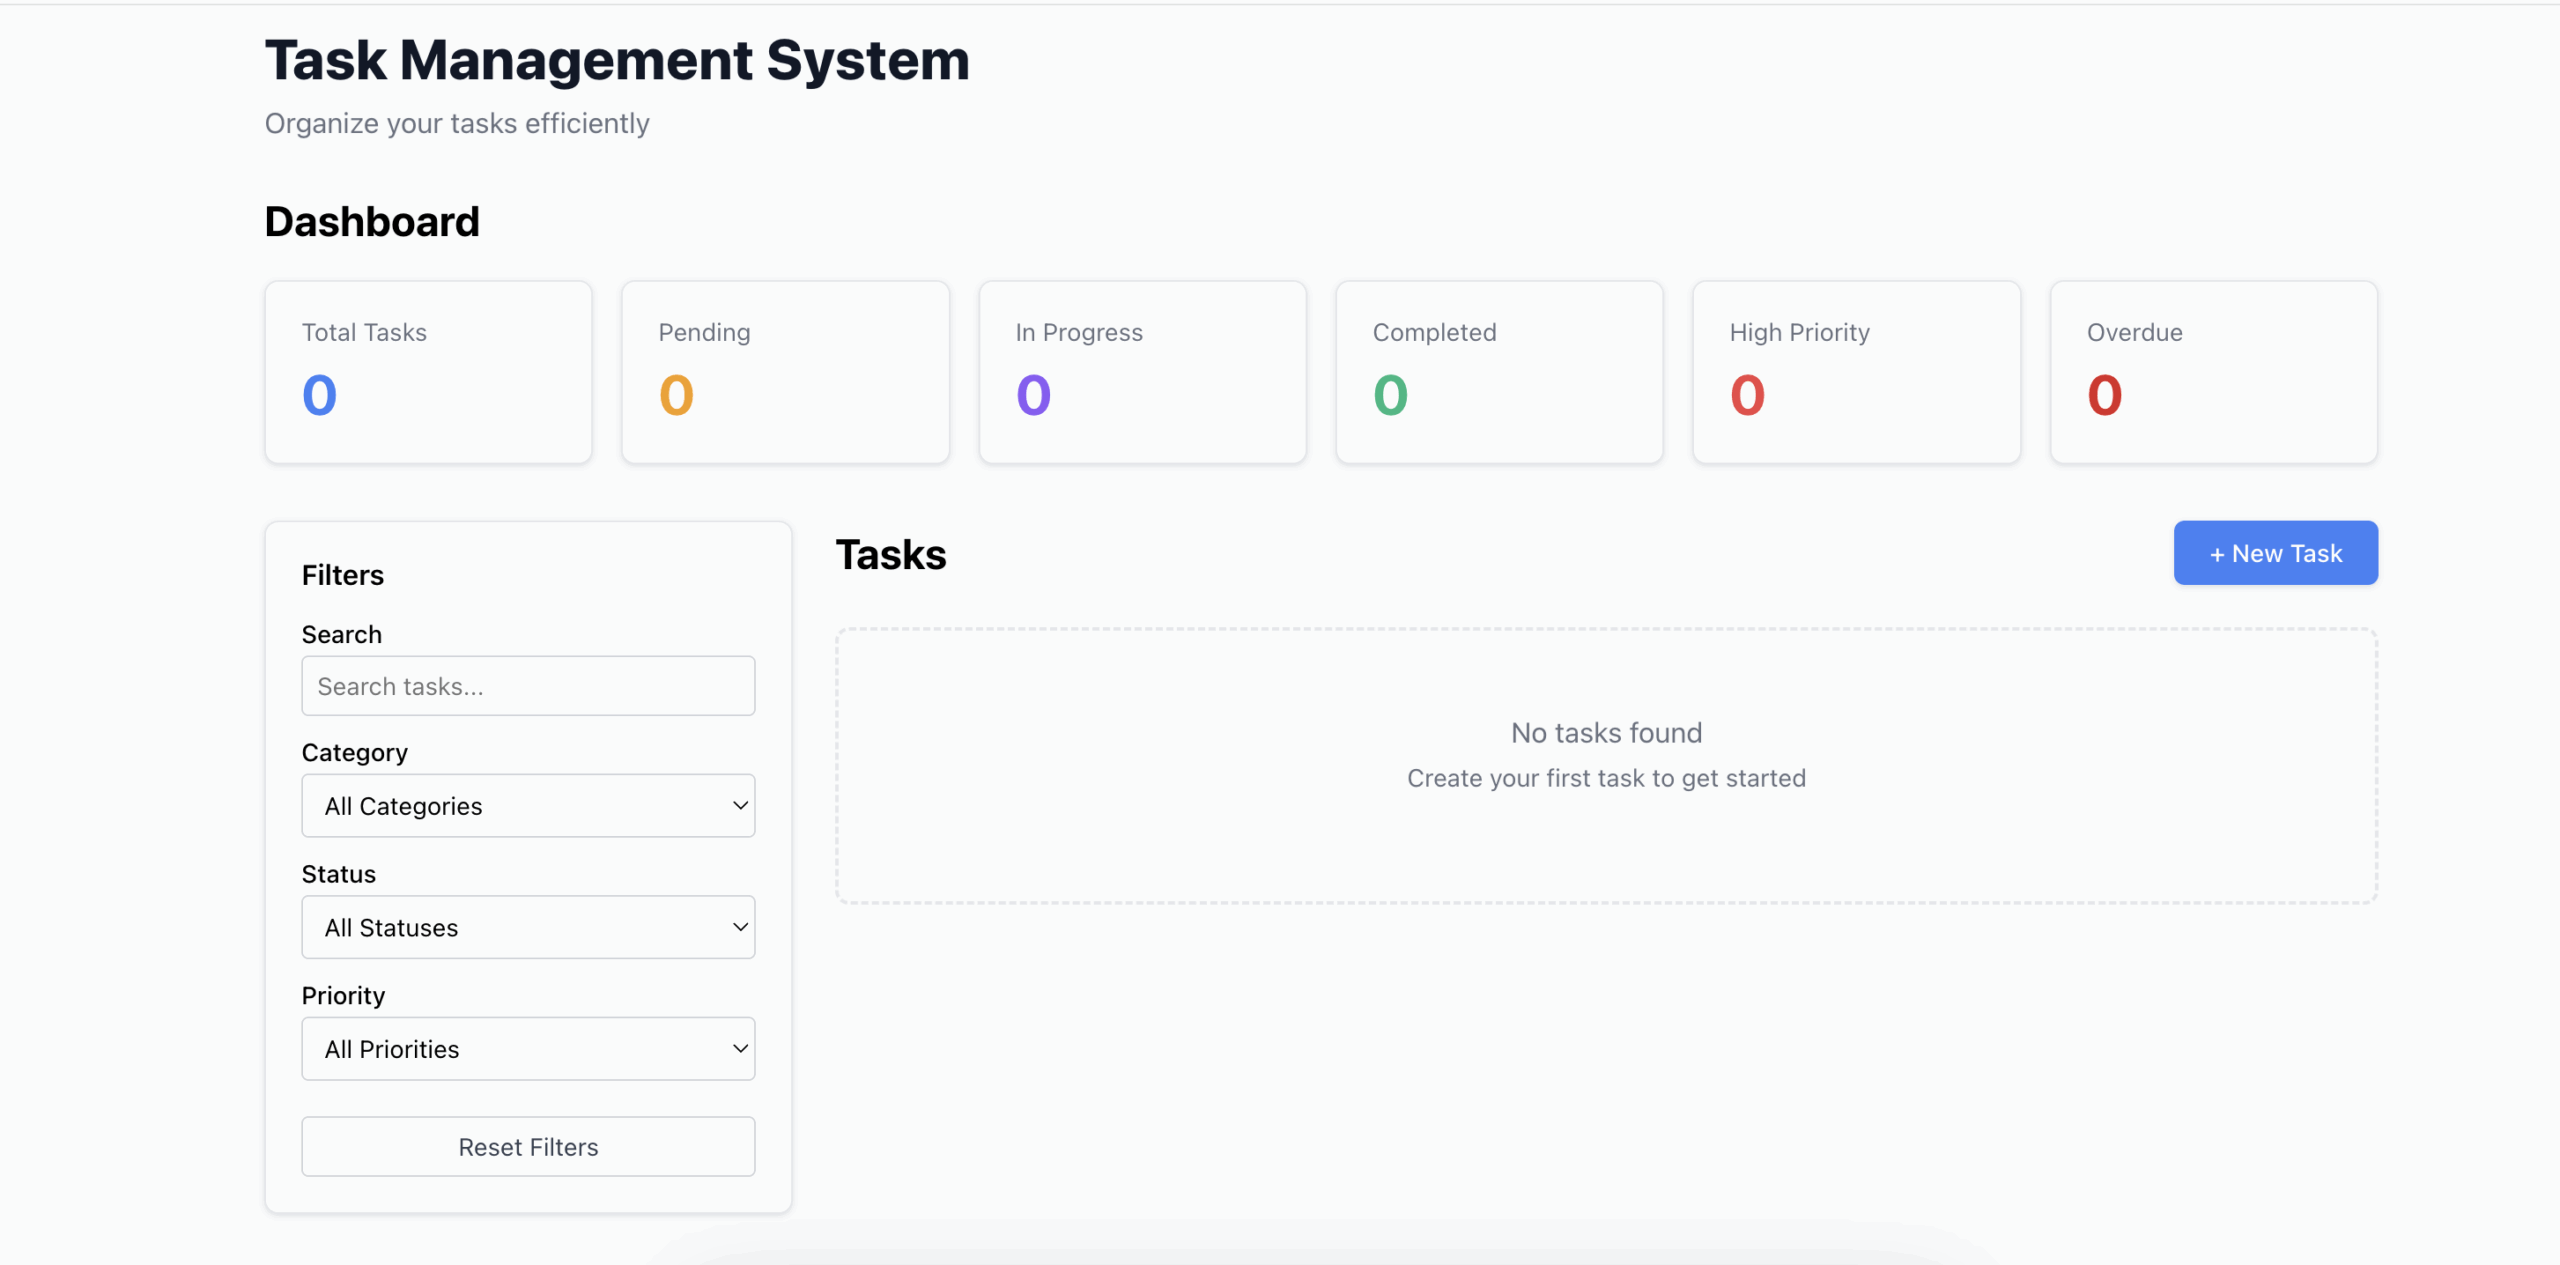
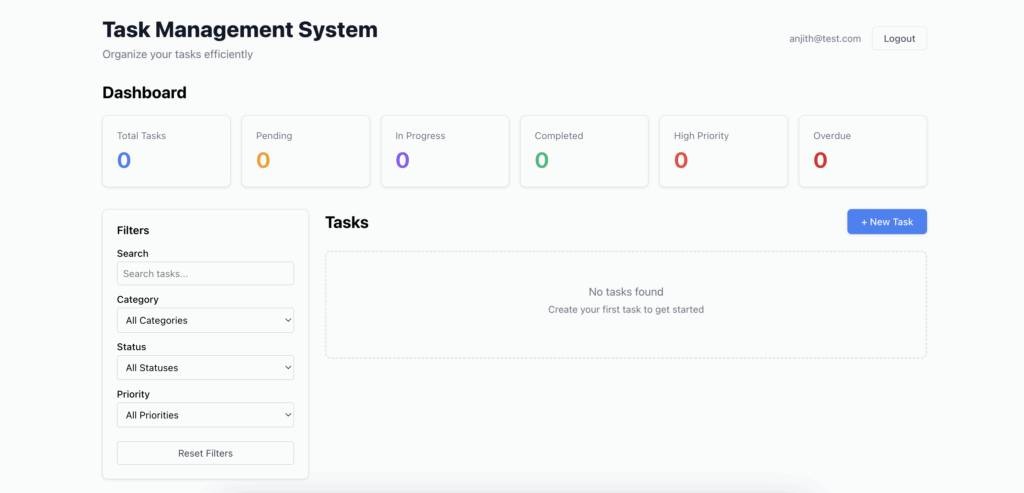
The project uses TypeScript, Node.js, and React. If you’re comfortable with basic programming concepts, you’ll be able to follow along easily. Once running, your app should look like this::
Initializing Your Project
Start by initializing Claude Code in your project:
1. Navigate to the quick-start directory in your terminal Run the Claude CLI:
2. Run the Cluade CLI:
claude3. Execute the init command:
/initClaude scans your codebase and generates claude.md: a project memory file that describes your repository’s structure, purpose, and key components.
Review and Refine
Review the generated file carefully. Claude uses claude.md as context for all tasks, so accuracy matters. Check that it correctly describes your project, then:
claude.md to version controlThis ensures your entire team works with the same project context.
Understanding the project
Prompt: What does this project do? Give me an overview of the architecture.When you ask Claude about your project Claude will:
Claude may need to run commands(tools) to gather information. For example, it might ask permission to:
tree to explore your directory structureYou’ll be prompted to approve these actions before they run.
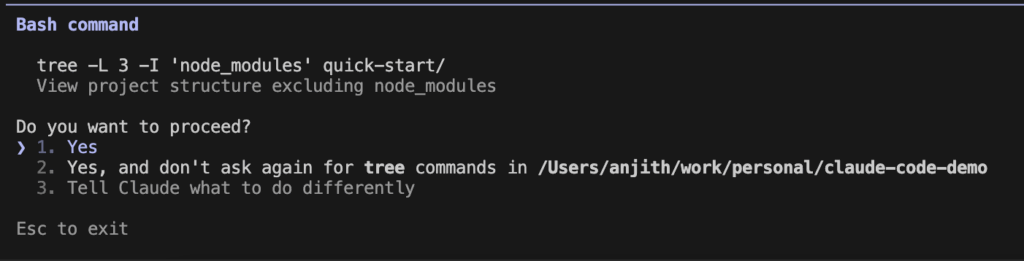
When Claude requests permission to run a command, you have three options:
Before approving, verify:
If a command looks unsafe or incorrect, choose option 3 to deny it or propose a different approach.
Finding Specific Code and Patterns
Claude Code can trace logic flows and identify patterns across your entire codebase.
Ask questions like: “Where is the task creation logic implemented?” Claude will analyze your codebase and show the complete flow:
Ask questions like: “What programming patterns are used in this codebase?”
Claude will identify architectural and design patterns such as:
This helps you understand existing conventions and maintain consistency when adding new features.
Let’s walk through real-world examples of how to use Claude Code to add new features to your codebase.
Adding a New Task Priority
Prompt:

Implement code to add a new task priority called "Critical".

Requirements:

1. Add "Critical" to the default priorities that are seeded in the database
2. Ensure the priority appears in the frontend priority filter dropdown
3. priority label color in tasks view frontend should be #a70606ff
3. The priority should work with all existing task operations (create, update, filter)
4. No need to implement tests
5. Use existing patterns
How Claude Code Responds:
Permission Options:
After Completion:
Claude shows a summary of all changes made. You can then verify the new “Critical” priority appears and works correctly in your UI.
Adding User Authentication
Adding user authentication is more complex than adding a task priority: it requires changes across multiple layers of your application. For tasks like this, use Plan Mode to map out the solution before writing any code. This feature should be used in scenarios such as requiring changes across many files, researching the codebase before making changes, iterating on the approach with Claude before committing etc.
Switching to Plan Mode:
Claude Code has three modes, toggled with Shift+Tab:
⏵⏵ accept edits on – Automatically applies all edits⏸ plan mode on – Creates plans without making changesTo Enter Plan Mode:
Prompt:

Add JWT-based user authentication to the task management app.

Requirements:

- Each user should only see their own tasks
- Use JWT tokens
- Store JWT token in localStorage with auto-login on page refresh
- Build login and register forms in the frontend
- Protect task routes and redirect to login if not authenticated
- No need of any tests
Claude analyzes your codebase and generates a detailed implementation plan showing:
After reviewing the plan, you can either manually approve the changes one-by-one or auto-accept all edits at once. Below is the snapshot how the plan looked like when I tried.

After working through the plan, Claude Code successfully implemented the entire login feature. The authentication system worked immediately: no debugging, no fixes needed.

This demonstrates Claude Code’s ability to:
The examples above used simple prompts for brevity, but you should make yours specific and context rich. The richer your context, the better Claude Code understands your requirements and architectural preferences.
Disabling Permission Checks
If permission prompts become disruptive, you can launch Claude Code without them:
# use with extreme caution
claude --dangerously-skip-permissions
Only use this flag when you fully understand the risks. Without permission checks, Claude Code could:
When to Consider This Flag:
To effectively fix bugs, instruct the steps to reproduce the issue and give stack trace and mention if the bug is intermittent or consistent. To simulate let’s manually introduce a bug and see whether claude can figure it out. Make the following changes to countByStatus method in taskService.ts file in the backend.
return tasks.filter(task => task.status = status).length;We mistakenly put = operator instead of equality operator(===). Now create one or more tasks and refresh the UI and you can see that the dashboard shows same number of tasks for all statuses which is incorrect.
Prompt:

On dashboard same number of tasks shown for pending, in progress and completed cards despite having tasks in different status in the db. Find and fix the issue.
Claude Code traces the flow from frontend to backend and identifies the assignment operator (`=`) should be an equality operator (`===`).
Let’s try to fix another subtle bug. Create task with some category other than ‘None’ and now update the task to remove the category by selecting ‘None’. You will notice that category doesn’t get removed.
Prompt:

While updating the task, setting category to None doesn't result in the category getting removed from the task and the old category is still retained. Fix this issue.
On my first attempt, Claude didn’t make the correct fix. After a follow-up prompt clarifying the issue persisted, it identified the root cause:
categoryId was typed as number | undefinedundefined properties get removednumber | null and send null when category is removedKey Takeaway:
Sometimes you need iterative prompts with additional context to reach the correct solution. Don’t expect perfection on the first try: treat it as a conversation where you provide more details as needed.
Code assistants excel at generating tests. You can request unit tests, integration tests, edge case scenarios, or tests in specific styles (like BDD).
Prompt:

Write integraion tests for taskService.ts module in backend using jest library.
- Use BDD style for test names.
- Use in memory database.
- Cover edge cases and error scenarios
How Claude Code Responds:
What to Expect:
Tests may not pass on the first attempt. Claude Code will:
This may take several attempts, which is normal. If your repo already has test cases, improve results by instructing Claude to follow patterns. For example like below:
Write integration tests for taskService.ts following existing test patterns.
Use the same structure and conventions as tests/userService.test.ts
Providing sample test files in the context helps Claude match:
This ensures consistency across your test suite.
Subagents are specialized AI assistants you create to handle specific tasks and they let you delegate specialized work while maintaining clean separation of concerns: similar to how you’d assign specific responsibilities to different team members. You can think of them like custom and polished prompts with following extra features:
1. Independent Context Window
2. Custom System Prompts
3. Scoped Tool Access
4. Reusability
Let’s create a subagent that reviews code like a senior developer.
/agents command"Review code as a senior developer"To use the sub agent, make some code changes, then invoke your subagent:
Use senior-code-reviewer subagent to check my uncommitted changes.The subagent will review your changes with the perspective and standards of a senior developer, providing focused feedback without cluttering your main conversation. The code review subagent is just one example. You can create specialized subagents for scenarios like:
Community Resources:
Check out this curated list of subagent examples: https://github.com/VoltAgent/awesome-claude-code-subagents You can use these subagents as-is or customize them to match your team’s specific needs and standards.
If you want to create your own sub agents, follow the below guidelines.
code-reviewer outperforms an agent trying to review code, write tests, and update documentation. Focused agents are more reliable and easier to manage and produce better results.Bad Prompt:
Review code for issuesGood Prompt:
Review code as a senior developer focusing on:

- Security vulnerabilities such as SQL injection, XSS, auth issues
- Performance bottlenecks such as N+1 queries, memory leaks
- Code maintainability (naming, complexity, duplication)
- Follow existing project patterns in /src/patterns/
- Prioritize critical issues over style preferences
Skills are getting a lot of attention and personally one of my favourite features in AI assisted coding tools. They take assisted development to the next level by teaching the AI project specific workflows, conventions, and domain knowledge. Think of them as custom instructions, some times with optional code scripts and other resource files, that Claude or any AI code assistant automatically loads when relevant. It should also be noted that skills are not just Claude feature but can be applicable for other coding agents in general. Refer to https://agentskills.io/home to understand more.
In Claude Code context, skills are markdown files (.claude/skills/SKILL.md) that extend Claude’s capabilities.They can be:
Skills can live in multiple locations, such as:
# Project-specific skills (checked into git).claude/skills/
# Personal skills (available across all your projects)~/.claude/skills/
# Plugin-provided skills<plugin>/skills/
Project skills are perfect for team-shared workflows. Personal skills are great for your own coding conventions that span multiple projects. Some sample skills are listed below:
Example 1: Teaching Claude Your Architecture
For our task management app, let’s create a skill that helps Claude understand the layered architecture pattern. Every skill lives under skills folder in its separate folder. Execute the following command to create a skill for backend-patterns.
mkdir -p .claude/skills/backend-patternsNow create a skill file .claude/skills/backend-patterns/SKILL.md and add the contents below:
 ---
  name: backend-patterns
  description: Backend architecture patterns and conventions for the task management API
  ---

  ## Architecture Overview

  This backend follows a **layered architecture pattern**:

  Routes → Controllers → Services → Models

  **When modifying the backend:**

  1. **Routes** (`src/routes/`): Only define endpoints and attach controllers
     - Never put business logic here
     - Keep route handlers thin

  2. **Controllers** (`src/controllers/`): Handle HTTP concerns
     - Parse request data
     - Call appropriate service methods
     - Format responses and handle errors
     - Don't query the database directly

  3. **Services** (`src/services/`): Business logic layer
     - All database operations happen here
     - Complex queries and transactions
     - Business rule enforcement
     - Return plain data, not HTTP responses

  4. **Models** (`src/models/`): Data structure definitions
     - Sequelize models with associations
     - Setup associations in `models/index.ts` via `setupAssociations()`

  ## Example: Adding a New Feature

  If adding task archiving:

  1. Create `archiveTask()` in `src/services/taskService.ts`
  2. Add controller method in `src/controllers/taskController.ts`
  3. Wire up route in `src/routes/taskRoutes.ts`
  4. Write tests in `tests/services/taskService.test.ts`

  Never skip layers or put service logic in controllers.
Now when you ask Claude to add features like “Implement task search,” it automatically follows your architectural patterns without you repeating the structure every time.
Every skill file contains two parts: First part contains YAML content (between --- markers) that tells Claude when to use the skill and the seconds part is markdown content with instructions that Claude follows when the skill is invoked. The name field becomes the /slash-command, and the description helps Claude decide when to load it automatically.
It is very important that name and description are accurate and as specific as possible so Claude knows exactly when to load the skill when you are asking questions.
Example 2: A Custom Testing Workflow
Create .claude/skills/run-tests/SKILL.md
 ---
  name: run-tests
  description: Run backend tests with proper setup and reporting
  disable-model-invocation: true
  ---

  Run the complete test suite for the task management backend:

  1. **Navigate to backend directory**
     ```bash
     cd quick-start/backend

  2. Ensure dependencies are installed
  npm install
  3. Run tests with coverage
  npm test -- --coverage --verbose
  4. Analyze results:
    - Report pass/fail count
    - Highlight any failing tests
    - Show coverage percentage
    - Suggest fixes for failures
  5. If tests fail:
    - Read the failing test file
    - Understand what's being tested
    - Examine the code under test
    - Propose a fix
Usage: Simply type /run-tests and Claude executes your testing workflow end-to-end.
The disable-model-invocation: true flag prevents Claude from auto-running tests when you mention the word “test”: you control when it runs.
Invoking Skills
Automatic invocation: Claude loads relevant skills based on your questions:
# Claude automatically loads backend-patterns skill

"How should I add a new endpoint for task filtering?"
Manual invocation: Use slash commands for task workflows:
/run-tests # Explicitly run the testing workflow
/review-changes # Review current changes
Skills vs. Agents
You might have noticed we explored subagents earlier. Here’s how they relate:
When to Create Skills
Create skills when you find yourself:
Claude Code’s command-line interface includes slash commands: shortcuts that start with / to run pre-defined tasks without writing lengthy prompts. Let’s look at some essential slash commands.
Session Management:
/clear – Clears conversation history and frees up context (use when starting fresh)/compact – Clears history but keeps summary in context (prevents hitting token limits)/rewind – Restores conversation to a previous point (useful when suggestions go off-track)/exit – Exits the REPLCost & Context:
/cost – Shows total session cost (tracks API charges)/context – Visualizes current context in a colored gridAccount & Configuration:
/login, /logout – Manage Anthropic account authentication/model – Switch between models (Opus, Sonnet, etc.)/memory – Edit project and user memory files (claude.md)Workflows:
/review – Reviews a pull request/export – Exports conversation to file or clipboardWhile using Claude Code, you can make ad-hoc suggestions like “add this to memory” and Claude will update claude.md accordingly. These are the most commonly used commands. Check the Claude Code documentation for the complete list of built-in commands.
Creating Custom Slash Commands
You can create your own slash commands at both project and user levels.
.claude/commands/) – Available to everyone who clones the repository~/.claude/commands/) – Personal commands only you can use1. Create the commands directory:
# For project-level commands
mkdir -p .claude/commands

# For user-level commands
mkdir -p ~/.claude/commands
2. Create a markdown file with your command:
echo "<command instructions>" > .claude/commands/my-command.md3. Invoke your command:
/my-commandAs you notice commands names are derived from the markdown file name.
Example: Fix Issue Command
Create the command:
echo "Fix issue $ARGUMENTS" > .claude/commands/fix-issue.mdUse it:
/fix-issue https://github.com/your-repo/issues/123The $ARGUMENTS variable captures everything you type after the command name. There are many many possibilities exists depending on your project scope. Check this github repository https://github.com/hesreallyhim/awesome-claude-code#slash-commands for some custom slash commands inspiration.
Scripting with Claude Code
Claude Code can run non-interactively on the command line, accepting piped input and output. This makes it powerful for writing automation scripts. Use the -p flag to provide a prompt without entering the interactive REPL. Combine Claude Code with other Unix commands using pipes
Example 1: Analyze Build Logs
wget <build-log-url> | claude -p "Explain the root cause of this build error"Example 2: Review Git Diff
git diff | claude -p "Review these changes for potential issues"Example 3: Analyze Log Files
tail -n 100 app.log | claude -p "Identify any error patterns in this log"Example 4: Process Command Output
npm audit | claude -p "Prioritize these security vulnerabilities by severity"This Unix-style composability lets you:
Claude Code brings AI-powered development assistance directly into your terminal. It’s not about replacing your coding skills: it’s about amplifying your productivity by handling repetitive tasks, navigating complex codebases, and implementing well-defined features while you focus on architecture and business logic.
Begin with simple, low-risk tasks: documentation generation, test creation, or code exploration. As you build confidence and understand Claude Code’s strengths and limitations, gradually tackle more complex features. Remember that clear, context-rich prompts yield better results, and iteration is normal: treat interactions as conversations, not one-shot commands.
Ready to get started? Initialize Claude Code in one of your projects and try your first simple task. Your future self will thank you for the time saved on repetitive work. If you have any questions or suggestions, please let me know in the comments and I’m happy to help.
